A blog about my life - a little about business, a little about DIY and a lot about my journey to get here.
Thursday, 26 December 2013
I'm Lovin' the Grey!
The one thing I LOVE about painting furniture using faux finishes/chalk paint, is that I really don't think there is such a thing as a "mistake". Take these chairs for example - they actually started out in the same vintage celery colour that I painted the tall boy I just sold...and now look! I can't even really remember EXACTLY how they came to be this colour, it was just a lot of paint mixing, testing out "washes" and sanding. I am in love with the driftwood finish that came out of all of that, and I will most definitely use this technique again!
Basically what I did to achieve this result was paint a base grey colour (fairly light) all over the chairs to make it solid with no brown showing through. Then I watered down black latex paint and used a small artist's brush and painted faux grain onto the light grey. Once that was dry I used warm water to rub sections of the surface to blend it in, then sanded the edges. Finally I finished the chairs with the paste wax and buffed to a shine.
I think this particular finish would also look reallllly great using a robin's egg blue/bright teal colour. Maybe I will get to try that out one day!
So, these chairs are currently up for sale - $175 for the set (which I personally think is awesome considering the amount of time spent on these!). Please contact if you are interested.
In the meantime, I am headed to the cottage to enjoy some R&R before I come home to face the mountain of furniture I have accumulating in my "workshop"! Honestly though, I am looking forward to getting some serious painting done in the New Year - keep an eye on the blog for updates.
Hope you all had a Merry Christmas and HAPPY NEW YEAR!
Monday, 16 December 2013
Learning How To Wax (The Hard Way!)
So, I did my first pieces in the first thing that I could settle on in the hardware store - a water-based poly product (Polycrylic I believe) by Minwax. The end result was so-so...my dining table had a LOT of detailing on the base, and this resulted in lots of drips (even though I brushed on, then wiped with a rag!) which turned a lovely shade of pee-yellow. Ick. I didn't mind the slight yellowing effect since it did make my grey paint look a little "warmer", however, the drips that were very distinctly yellow were not cutting it.
After top coating, then sanding off the yellow parts, then re-coating, then re-sanding, I finally got a finished product that I was happy with. Needless to say, I was NOT happy with the process it took to get there! My final conclusion was, that although the Polycrylic seemed like a good product otherwise, painting over a light colour and/or painting on a carved wood surface, was not a good idea if I didn't want it to look as though my dog had lifted his leg all over the table base.
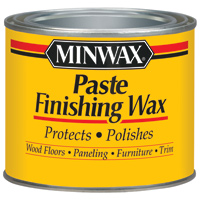
After looking at a lot of other people's chalk painted pieces, I came across of many of them using paste wax...it looked as though the patina (sheen on the painted piece) came out much nicer, and I liked how the pieces looked more matte as opposed to shiney. So, off I went to the hardware store and purchased my first pot of Minwax Paste Wax for $12. I was excited to crack it open but the learning curve was steep!

Following the instructions on the back of the can, I used a cheesecloth to apply. On the first stroke I noticed that the wax really deepened the colour of the chalk paint, which I loved! I was starting to get really excited! The stuff smelled to high-heaven but I didn't care. I was too busy admiring the beautiful sheen coming off the end table I was waxing!
I applied the wax with the grain, as well as in a circular motion, just to be sure it soaked in to all the crevices in the wood. I let it sit a few minutes and started to buff it shortly after with a lint-free cloth. It immediately started to smooth out and look a little shiney so I thought all was well. Unfortunately, when I inspected it more closely, I noticed that some parts of the table were shiney, but there were streaks that were dull as well. No amount of buffing on those spots would shine it up. Hmmmmm...I did know that wax needed a bit of time to cure, so I let it sit 24 hours and took another look at it.
Still streaky. Crap.
I buffed it again to no avail...I resigned to the fact that perhaps this added character to my table and called it a day. Long story short, I used this again on a dresser I did, and although the results seemed a little better, they are very inconsistent and I totally lack the confidence that I could make it come out right 100% of the time. One very important thing I found out was that I should NOT use the cheesecloth - the silly thing let tiny white balls all over my piece and they hardened into the wax! I didn't even realize that it was the cheesecloth that was doing this, until a friend of mine mentioned that happened to her. After I switched to applying the wax with another lint-free cloth, then buffing with the same type of cloth, it seemed to work a lot better.
So I am sad to say I am no wax-pert when it comes to using it on furniture. Sigh. Maybe I will give it another go soon! I also read a lot of different things on the durability of the wax vs the poly, but that is for another post!
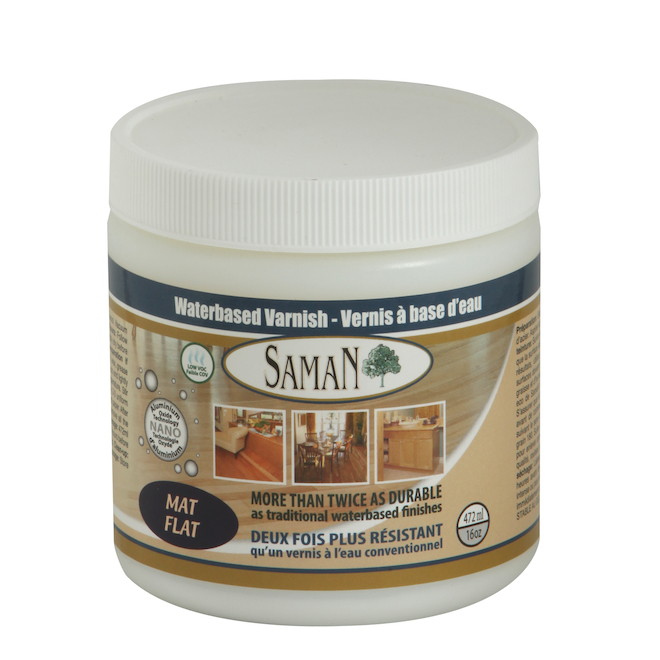
For now I have settled on this product that I found at Rona...it is the only "matte" water-based clear coat that I can find in the local stores. I have not yet applied it on to a piece, but my hopes are high! I will update very soon! This is what the new product looks like:

If anyone has used this, please let me know, I would love to know how it works/looks!
Thanks for reading and happy painting!
-A
Tuesday, 10 December 2013
So What IS Chalk Paint Anyways??

Since I hadn't heard much of chalk paint prior to using it myself, it seems like a lot of people are still unfamiliar with what it is and how to use it.
Chalk paint is NOT chalkboard paint, so please don't be confused! Chalkboard paint is black/green and can be applied to any surface that you wish to write on with chalk. Chalk paint however, can come in any colour and is used on wood, metal, plastic, etc!
Why is it called "chalk paint"? Chalk paint is very matte and "chalky" in its finish. This paint is easily distressed because it sands down as chalk dust instead of chunking off like latex can do. Chalk paint can be removed with as little as water, however it adheres to pretty much any surface area.
Those most AMAZING thing about chalk paint? Wait for it....
You DON'T have to SAND or PRIME your surfaces! This saves an incredible amount of time and allows people (like me) who don't have that sort of patience, to upcycle some great pieces in a fraction of the time - not to mention using a fraction of the labour as well!
Where can you buy chalk paint?
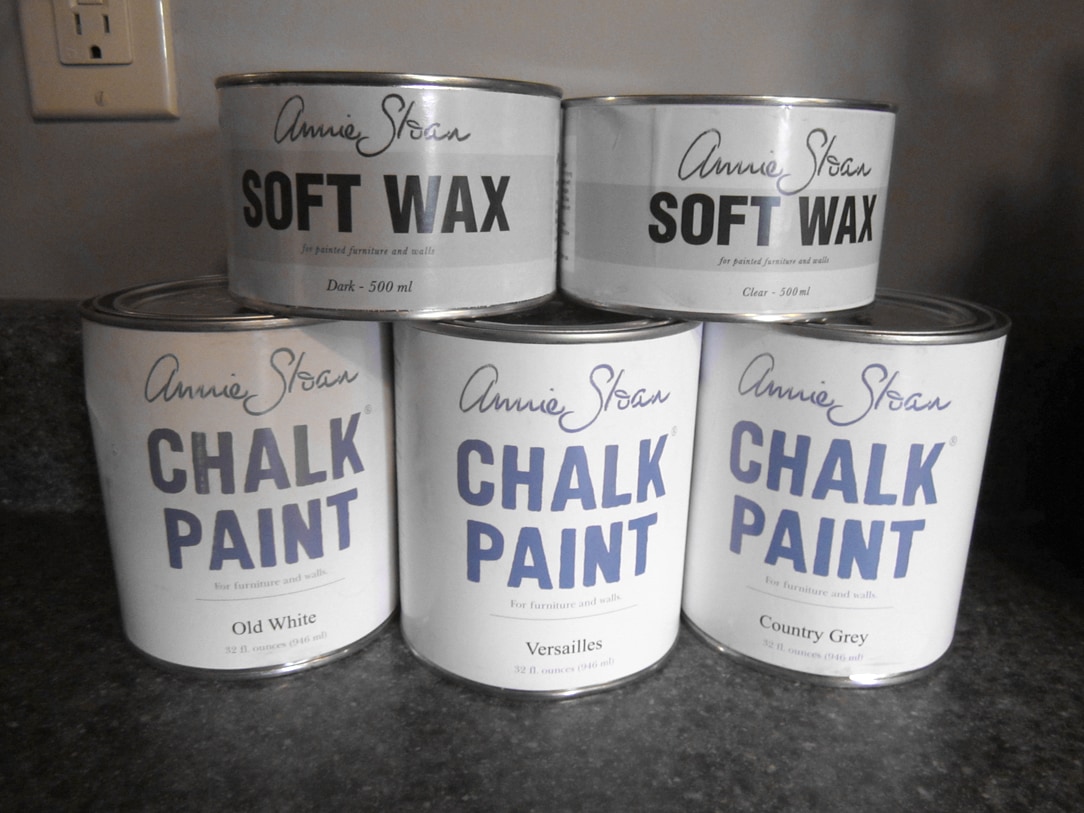
"Official" chalk paint is marketing and sold by Annie Sloan - her colour choice and quality of paint is awesome, however pretty pricey at around $40/gallon. Although I adore her colour options, they are limited to mostly vintage tones and colours, which doesn't give a lot of options to someone who wants to paint play room furniture, for example.
More good news! You can MAKE YOUR OWN! I personally make my own custom chalk paint using latex paint (any colour) and plaster of paris. There are lots of recipes online as to how to mix this stuff, but I mostly go by feel. You need to mix approximately 3 tbsp of plaster of paris with 2 tbsp of warm water. This gives you a thick-ish sort of mixture that is smooth and can be added directly to the paint of your choice. For this amount of plaster of paris, I would use about a cup of paint.
More plaster of paris = chalkier/more matte paint
Keeping in mind that the grey plaster of paris mixture does impact the colour you mix it with, so you may want to mix a smaller amount with a dark colour, such as black.
Without making this post waaaay too long, I will leave this here. Chalk paint has inspired me (and so many others) to refinish their own furniture, and I am so happy to share it with all of you.
Any questions? Email me at acbraun8@gmail.com
Thanks for reading!
-ACheck me out on Facebook!
So Let's See How This Goes...
Well after months of debating, and lot's of time spent painting, I think it's about time - I am putting myself "online" in an effort to become a little more visible and perhaps help some of you with my tips along the way.
My painting obsession began over the summer when my cousin told me I HAD to look into this new thing called "chalk paint". Intrigued, I went to my good friend Google and checked out what all the hype was about. Wow, these finished pieces looked amazing! We desperately needed a dining set (we had a gaping hole in what should have been our dining area), and I knew that refinishing an older set would be our best bet.
I spent hours and hours researching different methods, and trying to find the best deal on a good quality table. I stumbled upon this awesome find for only $150! This is a solid oak table made in Canada. I also found some awesome chairs circa 1930's to complete the set:
I absolutely fell in love with furniture painting after our set was done - we now had a gorgeous dining set that was solidly made and in the style I loved - and for CHEAP! I went on to purchase a buffet for $30 that I painted to match the table (see the Before and After section for photos).
After numerous compliments and encouragement from friends and family, I decided to try out painting some pieces to sell. I have been working hard at painting and designing unwanted pieces and I am now proud to offer a few of them for sale. I also have a number of great pieces "waiting in the wings" that I have yet to complete.
Please take a look at the "For Sale" items and let me know if you are interested in anything! Custom work also available.
Thanks for reading! More posts soon :)
-A
Subscribe to:
Comments (Atom)


