After top coating, then sanding off the yellow parts, then re-coating, then re-sanding, I finally got a finished product that I was happy with. Needless to say, I was NOT happy with the process it took to get there! My final conclusion was, that although the Polycrylic seemed like a good product otherwise, painting over a light colour and/or painting on a carved wood surface, was not a good idea if I didn't want it to look as though my dog had lifted his leg all over the table base.
After looking at a lot of other people's chalk painted pieces, I came across of many of them using paste wax...it looked as though the patina (sheen on the painted piece) came out much nicer, and I liked how the pieces looked more matte as opposed to shiney. So, off I went to the hardware store and purchased my first pot of Minwax Paste Wax for $12. I was excited to crack it open but the learning curve was steep!
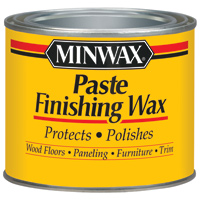
Following the instructions on the back of the can, I used a cheesecloth to apply. On the first stroke I noticed that the wax really deepened the colour of the chalk paint, which I loved! I was starting to get really excited! The stuff smelled to high-heaven but I didn't care. I was too busy admiring the beautiful sheen coming off the end table I was waxing!
I applied the wax with the grain, as well as in a circular motion, just to be sure it soaked in to all the crevices in the wood. I let it sit a few minutes and started to buff it shortly after with a lint-free cloth. It immediately started to smooth out and look a little shiney so I thought all was well. Unfortunately, when I inspected it more closely, I noticed that some parts of the table were shiney, but there were streaks that were dull as well. No amount of buffing on those spots would shine it up. Hmmmmm...I did know that wax needed a bit of time to cure, so I let it sit 24 hours and took another look at it.
Still streaky. Crap.
I buffed it again to no avail...I resigned to the fact that perhaps this added character to my table and called it a day. Long story short, I used this again on a dresser I did, and although the results seemed a little better, they are very inconsistent and I totally lack the confidence that I could make it come out right 100% of the time. One very important thing I found out was that I should NOT use the cheesecloth - the silly thing let tiny white balls all over my piece and they hardened into the wax! I didn't even realize that it was the cheesecloth that was doing this, until a friend of mine mentioned that happened to her. After I switched to applying the wax with another lint-free cloth, then buffing with the same type of cloth, it seemed to work a lot better.
So I am sad to say I am no wax-pert when it comes to using it on furniture. Sigh. Maybe I will give it another go soon! I also read a lot of different things on the durability of the wax vs the poly, but that is for another post!
For now I have settled on this product that I found at Rona...it is the only "matte" water-based clear coat that I can find in the local stores. I have not yet applied it on to a piece, but my hopes are high! I will update very soon! This is what the new product looks like:
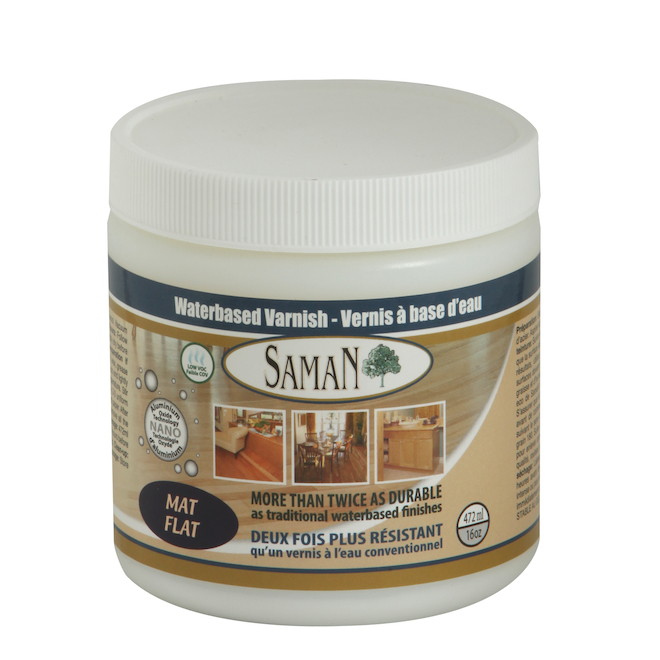
If anyone has used this, please let me know, I would love to know how it works/looks!
Thanks for reading and happy painting!
-A
No comments:
Post a Comment